Dynamic Log Files
This facility allows the system
administrator to indicate whether a log of records inserted,
deleted and/or updated for individual tables in the
system would be kept.
Note that the existing standard system logs is not replaced by this
option and will work as descibed in the respective on-line
documents.
Menu options: Logfile Maintenance {DMAIN-31}
Steps
- The system administrator decides to keep a log for a certain table.
- The system administrator must update DMAIN-1 Tables Tab, with the Log Table ID for the table that needs to be logged on DMAIN-31.
-
The system administrator uses Logfile Maintenance {DMAIN-31} to set up the rules of
which actions must be logged (Insert, Update, and Delete).
-
The system administrator then creates a new
menu option for the log print program in the Menu Structure {USERS-1}.
Demonstration #1
Purpose: To show the user how to log a table (Example: Physical Disabilities)
Execution
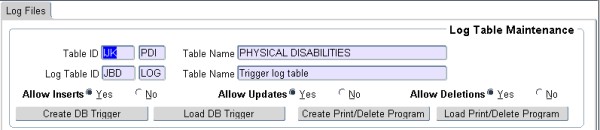
1. Go to Menu {DMAIN-31}
2. Query the specific table that must be logged. (IJK)
3. The Log Table ID will default from DMAIN-1 Table Tab.
Note that this Log table must have a specific format and must end with "LOG".
4. Decide whether Inserts, Updates and or Deletes must be logged.
5. Save this record.
6. The system is now ready to create the log trigger
and report programs for this table to be logged, but in order to help
with the query process when running the report, a few more decisions
needs to be made.
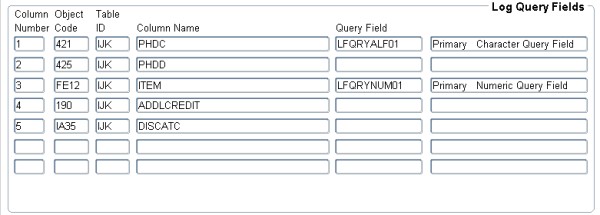
7. Go to the next
block and mark which objects you would like to appear as part of the
input parameters when running the log report.
NOTE:
It is very important to make this decision before starting the log
process because any records already processed/logged previously will
not have had the knowledge to mark these fields and will not be able to
allow you to query for specific records.
Note also that only two numeric, two Alphanumeric and Two date fields will be allowed to be marked.
8. Save these changes and go back to the first block.
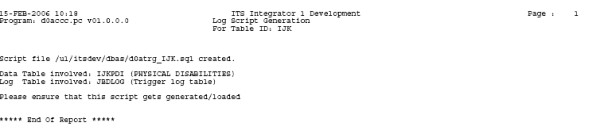
9. Create the Database trigger by clicking on . This will start the process and you should click the "View" button in order to see the outcome of this process.
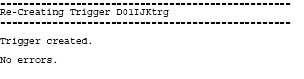
10. Load this
Database trigger by clicking on . This will start the process and
you should click the "View" button in order to see the outcome of this
process.
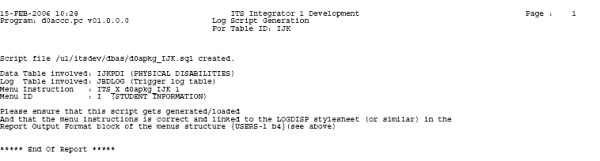
11. Create the
Log report by clicking on . This will start the process and
you should click the "View" button in order to see the outcome of this
process.
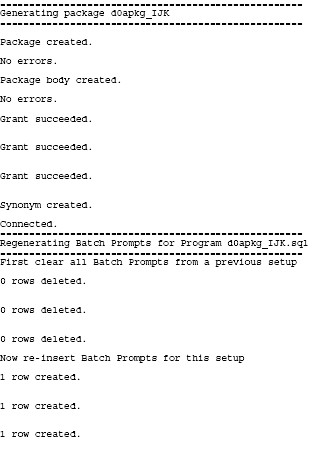
12. Load this Log
report by clicking on . This will start the process and you
should click the "View" button in order to see the outcome of this
process.
13. The process is now finished and you can close this option.
Demonstration #2
Purpose: To show the user how to link the log print program to a menu.
Execution
1. Go to menu {USERS-1}
2. Create an entry similar to the following,
substituting the "IJK" part for your table name and substituting the
menu name and option for your menu.
Block 1
Block 2
Block 3
Block 4
om_dynamic.html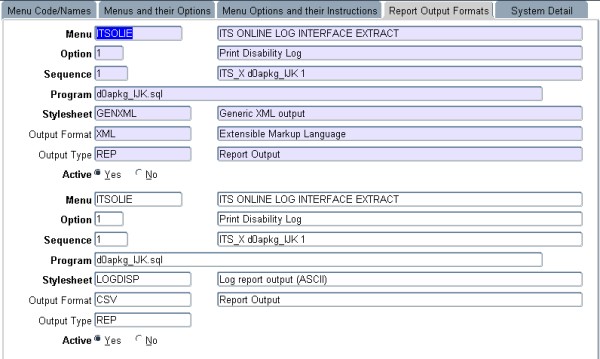 |
|
Demonstration #3
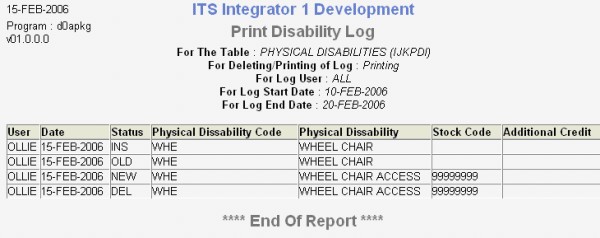
Purpose: To show the user how to run the Log report. (I.e. Changes done via {GCS2-1})
Execution
1. Go to Menu {ITSOLIE-1}
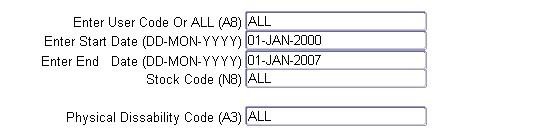
2. Go past the "Previous Request" field and use the following Input Parameters.
3. Ensure that one of the correct formats are used and then run the program.
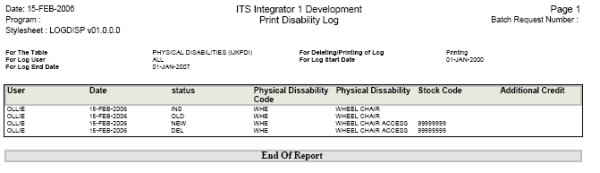
For the PDF Version you will get something similar to:
For the HTML version you will get something similar to:
Processing
Rules |
|
| |
No special processing rules |
See Also:
History of Changes
| Date |
System Version |
By Whom |
Job |
Description |
| 14-Jan-2007 |
v01.0.0.0 |
Charlene van der Schyff |
t12345 |
New manual format. |
| 23-Sep-2009 |
v01.0.0.1 |
Charlene van der schyff |
t161944 |
Insert Images and links |
| 17-Jun-2010 |
v01.0.0.2 |
Goodman Kabini |
t167681 |
Remove second paragraph on Note 3 Demonstration #1 |
| 06-Sep-2010 |
v01.0.0.3 |
Goodman Kabini |
t169338 |
Change part of Step 2 on Menu options: Logfile Maintenance paragraph. |
| 10-Sep-2010 |
v01.0.0.3 |
Dinong Sereko |
T169338 |
System owner proof read |
| 31-May-2011 |
v01.0.0.4 |
Goodman Kabini |
t173879 |
Add step 2 under
Menu options: Logfile Maintenance, and change point 3 under Demonstration #1 to show the user how to log a table. |